BIG TENNIS ACADEMY
Build a Game That Lasts
Every great player you have ever watched is standing on the same foundation: a balanced ready position, a quick split step, the right grip, a clean contact point and a recovery that gets them back in position before the next ball. This guide walks you through those fundamentals in the order a good coach teaches them, so whether you are picking up a racquet for the first time or rebuilding a game that has stalled at the intermediate level, you know exactly what to work on next.
Read it top to bottom once, then come back to the sections you need. Fundamentals are never “finished” — tour players drill them every single week.
THE BASICS
How the Court and Scoring Work
A full-size court is 78 feet long. The singles court is 27 feet wide; the doubles alleys add 4.5 feet on each side for a total width of 36 feet. The net is 3 feet high at the center strap and 3.5 feet at the posts — which is why the crosscourt shot, traveling over the lowest part of the net and across the longest diagonal, is the highest-percentage shot in the game.
The service boxes extend 21 feet from the net. The serve must land in the box diagonally opposite the server, and you get two attempts. After the serve, every ball may bounce once (or be volleyed out of the air) and must land inside the lines. A ball touching any part of the line is in.
| Term | What it means |
|---|---|
| Love | Zero points. “15–love” means the server has one point, the receiver none. |
| 15, 30, 40 | The first, second and third points won in a game. The server’s score is always called first. |
| Game | Won by the first player to win four points with a margin of at least two. |
| Deuce | 40–40. From here a player must win two points in a row to take the game. |
| Advantage | The player who wins the point after deuce. Win the next point and you win the game; lose it and you are back at deuce. |
| No-Ad | A common league and college format: at deuce, one deciding point is played and the receiver chooses the side. |
| Set | First to six games, ahead by two. At 6–6 most formats play a tiebreak. |
| Tiebreak | Points counted 1, 2, 3… First to seven, win by two. The player due to serve serves one point, then players alternate two serves each, switching ends every six points. |
| Match tiebreak | Often used instead of a third set: first to ten points, win by two. |
| Fault / Double fault | A missed serve is a fault. Miss both and you lose the point. |
| Let | A serve that clips the net and still lands in the correct box is replayed. A let can also be called for an outside interference, such as a ball rolling onto the court. |
| Break | Winning a game while your opponent is serving. |
GEAR THAT HELPS YOU LEARN
Equipment Basics
You do not need the racquet your favorite pro uses. You need a frame that is forgiving, a grip that fits your hand and shoes built for the surface you play on. Here is how to choose.
Racquets
| Spec | Range | Who it suits |
|---|---|---|
| Head size: Midsize | 85–97 sq in | Advanced players who generate their own pace and want precision. |
| Head size: Midplus | 98–104 sq in | The sweet spot for most beginners and intermediates — forgiving yet controllable. |
| Head size: Oversize | 105+ sq in | Players with short, compact swings who want free power and a big sweet spot. |
| Weight: Light | Under ~280 g unstrung | Easy to swing; good for new players and juniors moving to full-size frames, but transmits more shock. |
| Weight: Medium | ~280–305 g | Most adult club players. Balance of stability and maneuverability. |
| Weight: Heavy | 305 g and up | Strong, experienced players. More stability and plow-through, more demand on timing. |
| Grip size | 4 to 4 5/8 in (L0–L5) | Most women fit 4 1/8–4 1/4 (L1–L2); most men 4 3/8–4 1/2 (L3–L4). Between sizes, go smaller and add an overgrip. |
| Junior length | 19, 21, 23, 25, 26 in | Stand the racquet beside the child: the tip should reach roughly the hip or wrist with the arm hanging. Ask a coach for a fitting. |
A quick grip-size check: hold the racquet in an eastern forehand grip. You should be able to fit the index finger of your other hand in the gap between your ring finger tip and the base of your palm. No gap means the grip is too small; a big gap means too large.
Strings
Most pre-strung beginner racquets come with nylon (synthetic gut) — and that is perfectly fine. Multifilament strings play softer and are kinder to the arm. Polyester strings are stiff, control-oriented and spin-friendly, but they lose tension quickly and can be harsh on elbows and shoulders; most beginners should avoid full poly. Lower tension in the recommended range gives more power and comfort; higher tension gives more control. A useful rule: restring roughly as many times a year as you play per week.
Shoes by surface
Hard Court
Durable outsole with a modified herringbone or mixed pattern, strong toe protection and good cushioning. Hard courts are the toughest on shoes and joints.
Clay
Full herringbone tread that grips without clogging, plus a snug upper for sliding. Clay soles release clay as you move.
Grass
Nubbed or pimpled soles for traction on slick grass. Many clubs require them. Never play in running shoes — they lack lateral support and invite rolled ankles.
Balls
Adults use the standard yellow ball. Kids learn far faster with low-compression balls on smaller courts, which is the backbone of modern junior development:
Red Ball
Slowest, lowest-bouncing ball, played on a 36-foot court with short racquets. Kids get real rallies from day one.
Orange Ball
A bit faster and bouncier, played on a 60-foot court. Players start building full swings, serves and net play.
Green Ball
Full court, slightly slower than yellow. The final bridge before standard balls and competitive junior play.
Ages are guides, not rules — progress by skill. Adult beginners benefit from green balls too. See our gear guides and the kids hub for more.
WHERE EVERY SHOT BEGINS
The Ready Position
The ready position is the posture you return to between shots. It should feel athletic, not stiff — like a shortstop waiting for a ground ball.
- Feet a little wider than shoulder width, weight on the balls of your feet.
- Knees flexed, hips back slightly, chest up and eyes level.
- Racquet in front of you at about chest height, head up, held loosely.
- Non-dominant hand supporting the throat of the racquet — this makes the turn and grip change faster.
- Most players wait with a forehand grip or a neutral continental grip, depending on whether they prefer to change grips for the backhand.
THE MOST IMPORTANT MOVE YOU’RE NOT DOING
The Split Step
The split step is a small hop that lands you on both feet, balanced and loaded, right as your opponent strikes the ball. It turns your muscles into springs so your first step is explosive in any direction.
- Time it to their contact. Begin the hop as your opponent starts the forward swing so you land as (or just after) they hit.
- Keep it small. A few inches off the ground is plenty. Big jumps leave you in the air when you need to move.
- Land wide and low. Feet slightly wider than your ready stance, knees bent, weight forward.
- Read, then go. Advanced players often land on the outside foot first, already pushing toward the ball.
HOW YOU HOLD IT SHAPES EVERYTHING
The Four Grips
Grips are described by which bevel (flat side of the eight-sided handle) your index-finger base knuckle sits on. For a right-hander, with the string face perpendicular to the ground, bevel 1 is the top; numbers rise clockwise. Left-handers mirror it.
| Grip | Knuckle on (right-hander) | Best uses | Trade-offs |
|---|---|---|---|
| Continental | Bevel 2 | Serve, volleys, overheads, slice, defensive shots, drop shots | Hard to drive high forehands with topspin. |
| Eastern forehand | Bevel 3 | Flat to moderate-topspin forehands; easy for beginners to learn; good on low balls | Shoulder-high balls are tougher to control. |
| Semi-western | Bevel 4 | The modern standard forehand: heavy topspin with good versatility on mid-to-high balls | Low, skidding balls require more knee bend. |
| Western | Bevel 5 | Extreme topspin, high-bouncing clay-court balls | Struggles with low balls and fast surfaces; transitions to volleys are slower. |
For the two-handed backhand, most players use a continental grip on the bottom (dominant) hand and an eastern forehand-style grip with the top hand. One-handed backhands typically use an eastern backhand grip (knuckle on bevel 1). Beginners should learn the eastern or semi-western forehand and the continental early, because the serve and volley will need it.
THE MOMENT THAT MATTERS
Contact Point and Spacing
The ball does not care how pretty your backswing is. It only knows what the strings are doing at contact. Get the contact point right and many technical flaws fix themselves.
- In front. Contact the forehand and two-handed backhand ahead of your front hip. One-handed backhands are struck even further in front.
- To the side. Leave room — roughly an arm-plus-racquet distance on the forehand with a comfortably bent elbow. Jammed shots happen when you run too close to the ball.
- Waist height is ideal. Move your feet to take the ball between knee and chest whenever possible.
- Square face. For a neutral rally ball, the strings face your target at contact; spin comes from the low-to-high path, not from tilting the face.
- Still head. Keep your head steady and eyes near the contact zone through the hit, as Federer famously did.
Spacing is footwork. Use small adjustment steps as the ball approaches — big steps get you close, small steps get you exact.
PREPARATION
The Unit Turn
The unit turn is the first move of every groundstroke: shoulders, hips, arms and racquet rotate together as one unit, the moment you recognize forehand or backhand. Early preparation buys time and loads the body like a coiled spring.
- Recognize. Identify the side as the ball leaves your opponent’s strings.
- Turn the shoulders. Pivot on the outside foot and rotate until your non-hitting shoulder points toward the net post or the incoming ball.
- Keep the off-hand involved. On the forehand, the free hand stays on the racquet or extends out in front, helping keep the turn complete. On the two-hander both hands stay on.
- Racquet takes care of itself. With a good turn, the racquet is already halfway back. Finish the backswing with the arm in a relaxed loop.
FINISH THE JOB
Follow-Through
The follow-through is not decoration — it is evidence of what happened at contact. A full, relaxed finish means you accelerated through the ball instead of decelerating into it.
- Modern forehand: finish over the opposite shoulder, or wrapped around the body (the “windshield-wiper” finish) on heavier topspin.
- Two-handed backhand: finish high over the dominant shoulder, both hands still on the racquet.
- One-handed backhand: arm extends up and out toward the target while the chest stays sideways, the free arm going back for balance.
- Rotate the hips and shoulders through so your chest ends facing the net (except the one-hander).
- Stay balanced long enough to “hold the finish” for a second in practice.
THE SHOT AFTER THE SHOT
Recovery
Hitting the ball is half the job. Getting back in position is the other half. Recover to the middle of the range of your opponent’s possible replies — not always the center mark. After a deep crosscourt shot, that spot is usually a step or two to the side of center, toward the side you hit to.
- Push off the outside leg right after contact; do not admire your shot.
- Use side-shuffles for short recoveries, a crossover step for longer ones.
- Arrive in time to split step as your opponent hits.
THE CONTROL LADDER
Rally Consistency: Height, Depth, Direction, Spin, Speed
Most club points are lost, not won. The fastest way to win more is to master ball control in the order coaches have used for decades. Each layer depends on the one before it.
- Height. Clear the net by a safe margin — three to six feet on rally balls. Net errors are the most common miss at every level below the pros.
- Depth. Land the ball past the service line. Height usually produces depth, and deep balls keep your opponent behind the baseline.
- Direction. Hit crosscourt and down the line on purpose. Direction comes from the timing of contact and the angle of the racquet face.
- Spin. Topspin brings a high, safe ball down into the court. Slice keeps it low. Spin is what lets you swing faster and still make it.
- Speed. Only now add pace. Power without the first four is just a faster way to lose the point.
GET OFF TO A GREAT START
First-Lesson Checklist
- Tennis shoes with non-marking soles (not running shoes).
- Comfortable athletic clothes, hat or visor, sunscreen.
- A racquet if you have one — most coaches and clubs have loaners for a first session.
- A full water bottle, plus a small snack for longer sessions.
- Arrive 10 minutes early for a light warm-up: brisk walk, arm circles, leg swings, side shuffles.
- Tell the coach any past injuries and your goals — fitness, social play, leagues, junior competition.
- Bring a notebook or use our tennis journal to write down two cues after the lesson.
- Expect to hit lots of balls from a coach’s feed before rallying. That is how skills are built.
Looking for a coach near you? Browse the coaching hub or our directory.
YOUR ROADMAP
30-Day Fundamentals Plan
Aim for three sessions a week of 45–60 minutes. One can be a lesson, one a hitting session with a partner, one solo work against a wall or a ball machine.
- Week 1 — Movement and contact. Ready position, split step, and catching drills. Drop-feed forehands and backhands to a target, focusing on contact in front. Learn the scoring and play a few practice games using only underhand serves if needed.
- Week 2 — Rally the ball. Mini-tennis inside the service boxes for 10 minutes every session. Unit turn and full follow-through on fed balls. Introduce the continental grip with volley catches and short volleys. Learn a basic serve motion from the service line.
- Week 3 — Height and depth. Crosscourt rallies from the baseline aiming three to six feet over the net, with a target zone past the service line. Serve from the baseline with a full continental grip. Practice the recovery step after every shot.
- Week 4 — Play points. Combine everything: serve, return, rally. Play tiebreaks and short sets. Keep a simple error count — net, long, wide — and choose next month’s focus from the biggest number.
Crosscourt Consistency Rally
Build reliable crosscourt depth and margin from the baseline.
- Players2
- Time15 min
- EquipmentBasket of balls, 4 cones or throw-down lines
How to run this drill
Setup: Both players on the deuce-side baseline. Mark a target zone with cones between the service line and baseline, two to three feet inside the sideline.
- Start the rally with a drop feed crosscourt.
- Rally forehand to forehand crosscourt only.
- Count consecutive balls that land past the service line.
- After 10 minutes, switch to the ad side for backhands.
Coaching cues
- Three to six feet over the net
- Recover a step toward center after every shot
- Split step on your partner's contact
Common mistakes
- Aiming at the lines instead of the zone
- Standing still after hitting
Progression: Set a team goal of 20 in a row, then require every ball to land in the target zone.
Dead-Ball Forehand Feeds
Groove the unit turn, contact in front and a full finish without the pressure of a live rally.
- Players2
- Time10 min
- EquipmentBasket of balls
How to run this drill
Setup: Coach or partner stands beside the net post (or at the service line) and hand-tosses or racquet-feeds slow, waist-high balls to the player's forehand.
- Player starts in the ready position at the center mark.
- Feeder sends one ball at a time with a gentle bounce.
- Player turns, hits crosscourt and recovers to the center mark.
- Feed the next ball only when the player has recovered.
Coaching cues
- Turn as soon as the ball leaves the hand
- Hit in front of the front hip
- Catch the racquet at the finish
Common mistakes
- Taking the racquet back late
- Arm-only swing with no shoulder rotation
Progression: Feed alternately to a crosscourt and a down-the-line target, then add movement by feeding wider.
One-Hander Shadow and Freeze
Build the shoulder turn and sideways finish of the one-handed backhand.
- Players1
- Time8 min
- EquipmentRacquet, mirror or window reflection (optional)
How to run this drill
Setup: Stand sideways to a mirror or open space. No ball needed.
- Unit turn with the left hand on the throat.
- Swing in slow motion to contact point in front.
- Finish with arms spread and chest sideways.
- Hold the finish for two seconds. Repeat 20 times.
Coaching cues
- Left hand guides the racquet back
- Straight arm at contact
- Squeeze the shoulder blades
Common mistakes
- Turning the chest toward the net
- Leading with the elbow
Progression: Add dead-ball feeds and hold the finish after each hit.
Serve Target Practice With Cones
Develop serve accuracy to the three main targets: wide, body and T.
- Players1
- Time15 min
- EquipmentBasket of balls, 6 cones
How to run this drill
Setup: Place two cones in each service box: one at the T, one in the wide corner, plus a cone at the body position.
- Serve 10 balls to each target in the deuce court.
- Record hits within a racquet-length of each cone.
- Repeat in the ad court.
- Finish with 10 second serves to the backhand.
Coaching cues
- Pick the target before the ritual
- Same toss, change the contact
- Hold your balance on landing
Common mistakes
- Changing the toss for each target
- Rushing between serves
Progression: Play 'call your serve': announce the target aloud before each serve, scoring 1 point per hit.
Toss and Catch
Develop a consistent toss.
- Players1
- Time5 min
- Equipment3-5 balls, racquet laid on the ground
How to run this drill
Setup: Stand in the serving stance. Lay the racquet on the ground in front of your front foot with the head pointing forward.
- Toss with a straight arm.
- Let the ball fall without hitting it.
- Check whether it lands on the strings.
- Repeat 20 times.
Coaching cues
- Lift from the shoulder
- Release around head height
- Hold the arm up after release
Common mistakes
- Flicking the wrist
- Bending the elbow
Progression: Toss and swing in slow motion, letting the ball drop afterward.
Deep Middle Return Game
Build a consistent, deep return that neutralizes the server.
- Players2
- Time10 min
- EquipmentBasket of balls, 4 cones or throw-down lines
How to run this drill
Setup: Use cones to mark a target zone about 6 feet wide, centered on the center service line extension, between the service line and the baseline. Server serves at moderate pace from the baseline.
- Server hits 10 moderate serves to alternate boxes.
- Returner split steps on the server's contact and turns the shoulders early.
- Returner aims every ball high over the center of the net into the target zone.
- Score 1 point for any return in the court and 2 for a return in the zone, then rotate.
Coaching cues
- Split as they hit
- Short backswing, long follow-through
- Aim the middle of the net, about 4 feet over
Common mistakes
- Going for winners off the return
- Swinging too hard and spraying the ball wide
Progression: Server increases pace and mixes in wide serves; the returner must still return to the middle zone.
Browse the full Drill Library →
AVOID THESE TRAPS
Common Beginner Mistakes
Standing flat-footed
Waiting with heels down guarantees you’re late. Stay on the balls of your feet and split step every single time.
Late preparation
Taking the racquet back as the ball bounces leaves no time to swing. Turn the moment you know which side the ball is coming to.
Strangling the grip
A death grip kills racquet-head speed and tires the forearm. On a 1–10 scale, hold it at about a 3 or 4, firming slightly at contact.
Hitting with only the arm
Power comes from the ground up: legs, hips, trunk, shoulder, arm. If your shoulder hurts and the ball is slow, you’re arming it.
Aiming too close to the lines
Target zones a few feet inside the lines win more points than chasing winners. Leave yourself margin.
Using a frying-pan grip for everything
The western grip feels natural on day one but makes serves and volleys almost impossible. Learn the continental early.
QUESTIONS WE HEAR EVERY WEEK
Fundamentals FAQ
How long does it take to learn tennis?
Most adults who practice two to three times a week can rally comfortably and play friendly points within two to three months. Reaching a solid intermediate level (around NTRP 3.5) usually takes one to three years of consistent play and some coaching.
Should I take lessons or just play?
Both. A few early lessons stop bad habits from forming — especially grips and serve technique, which are hard to fix later. Then play as much as you can, using lessons periodically to check in and set new goals.
One-handed or two-handed backhand?
Most beginners, especially juniors, find the two-hander easier: the second hand adds strength and stability, and it handles high balls better. The one-hander offers more reach and a beautiful slice transition. Try both with a coach and pick the one that feels more stable after a few weeks.
How hard should I swing?
Start at about 60 to 70 percent effort with a relaxed arm. Smooth acceleration with good contact beats a muscled swing every time. Increase speed only once your height, depth and direction are reliable.
Is the ball machine or a wall good for beginners?
Yes. A wall gives you hundreds of repetitions and sharpens footwork and timing. A ball machine lets you groove a specific stroke. Mix them with live hitting, because reading a real opponent is a skill of its own.
What’s the best way to warm up before playing?
Five to ten minutes of dynamic movement — light jogging, side shuffles, carioca, leg swings, arm circles and trunk rotations — followed by mini-tennis from the service line. Save static stretching for after play. This is educational, not medical advice; check with a doctor if you have injuries or health concerns. Our fitness section has full routines.
Keep Building
Ready for the next layer? Dive into stroke-by-stroke Technique Essentials, then learn how to win points with Match Strategy.
Get the free Fundamentals email course
Free weekly tennis news, coaching tips, drills and games — plus Teo Davidov updates. Pick what you want; unsubscribe anytime.
From the blog
More articles →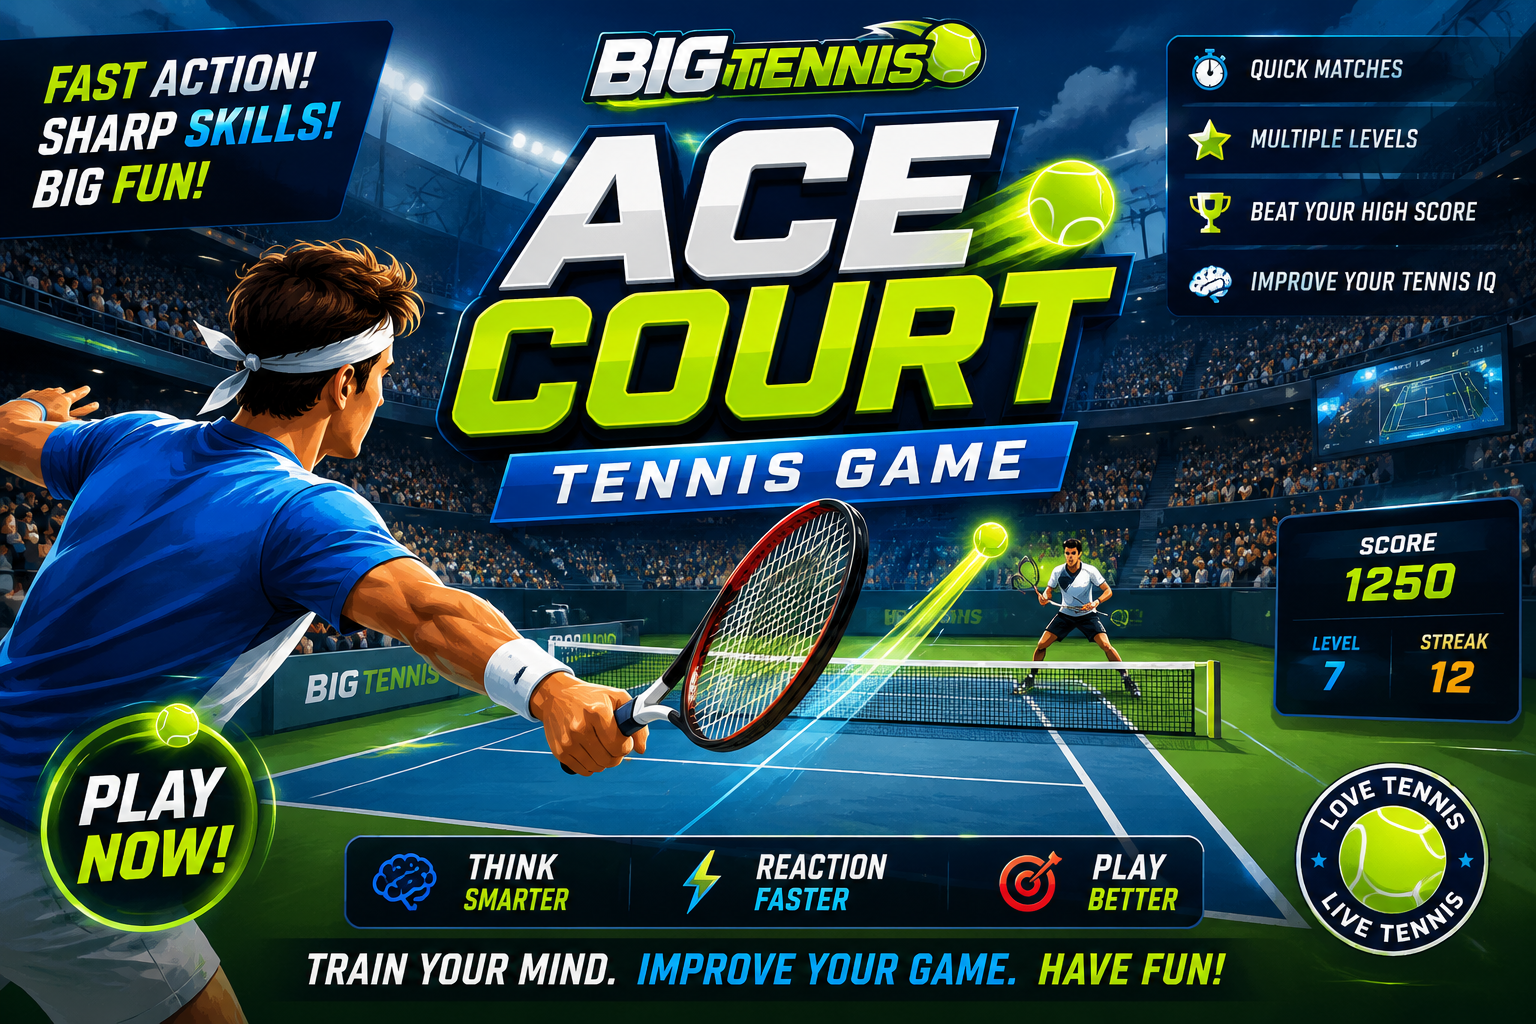
Ace Court Tennis Game: The Fastest Way to Test Your Tennis Skills
Ace Court Tennis Game: The Fastest Way to Test Your Tennis Skills Think your tennis IQ is as sharp as…
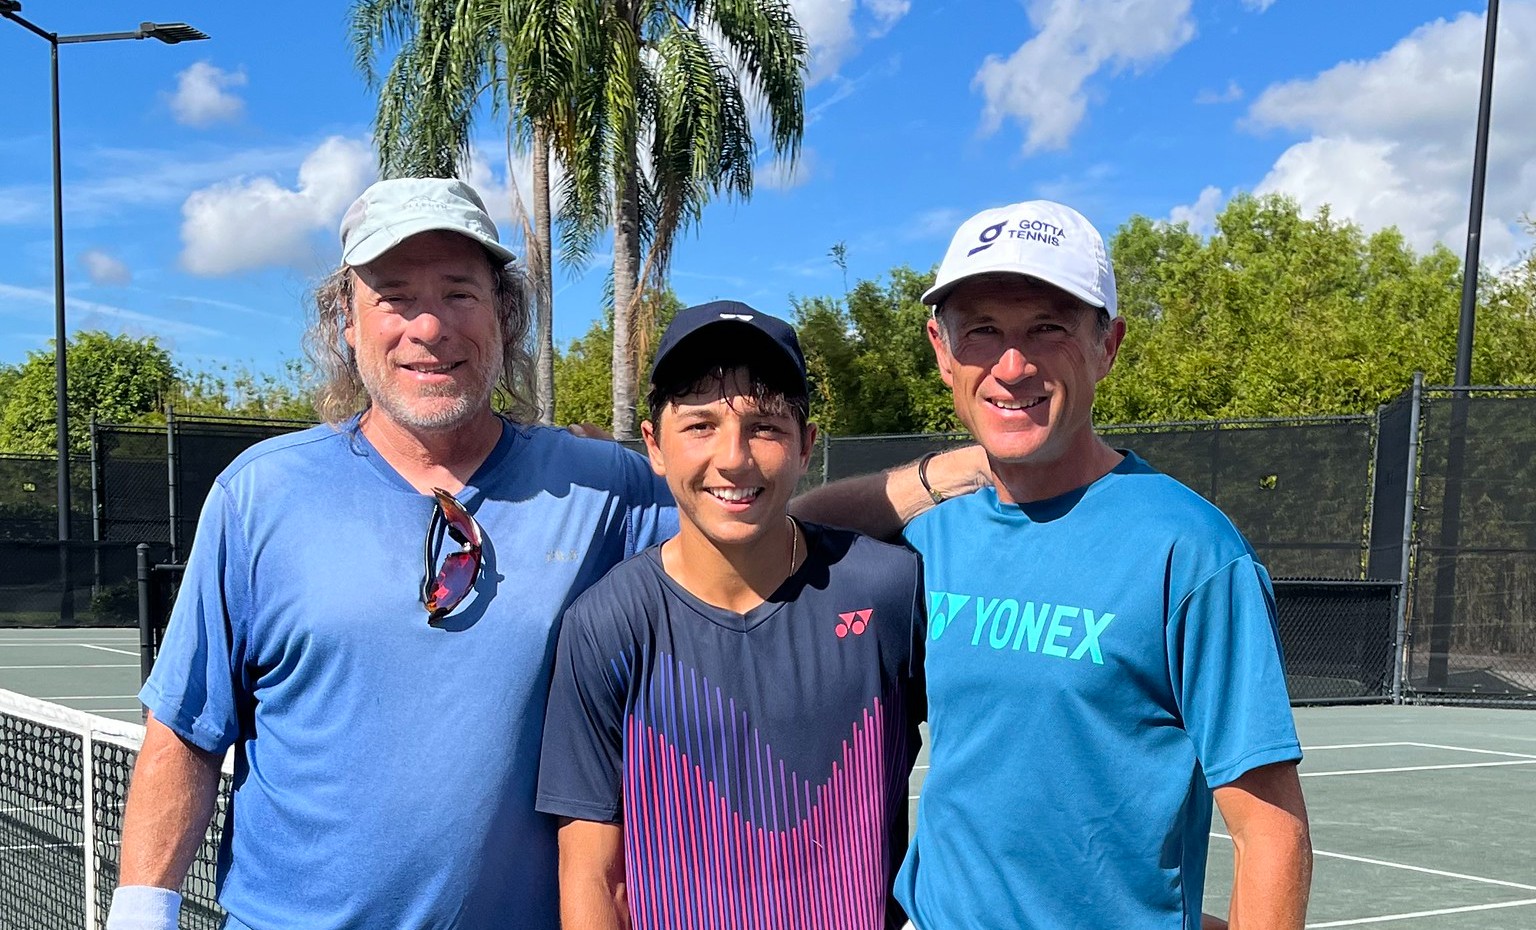
Teo Davidov Earns First ATP Points With Breakthrough Semifinal Run in Naples
Teo Davidov Makes History in Naples — First ATP Points & Semifinal Run At just 15 years old, Teodor “Teo”…

How Tennis Players Really Improve (And Why Most Never Do)
How Tennis Players Really Improve (And Why Most Never Do) If you’ve been around tennis long enough, you’ve seen it…

The Mental Game: 7 Techniques Top Players Use to Stay Calm Under Pressure
The Mental Game: 7 Techniques Top Players Use to Stay Calm Under Pressure Performance psychology simplified for everyday players Introduction:…